Step by step process of creating a deployment Manifest file
It may be a simple process to create a deployment manifest file in SSIS for experienced guys, but may be difficult for those who are new to SSIS. So, this article will walk you through the steps to create a manifest file, in other words, deployment utility in SSIS.
Before we start discussion, let me tell you what is manifest file in SSIS. :)
Once we complete the development of the package, the next step would be deploying the package in different machine / server. The deployment utility which contains the files you need to deploy like packages, configuration files, Readme file (which might be placed in Miscellaneous folder) etc., These files are included automatically in the deployment utility when we built the package.
Now, Its time to create a manifest file in SSIS. :)
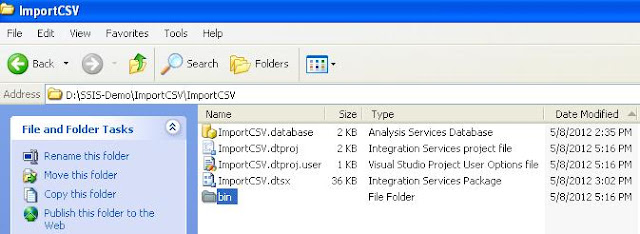
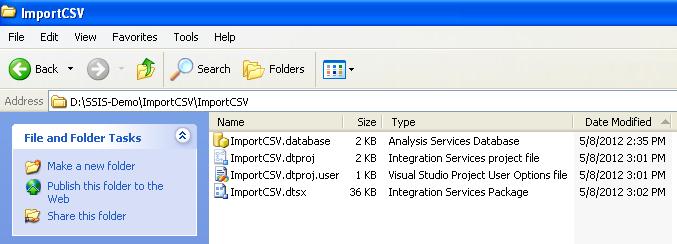
For this example, I have already created one sample package and the package folder will contains the following files before you build a solution or package.
 When you build a package as shown below :
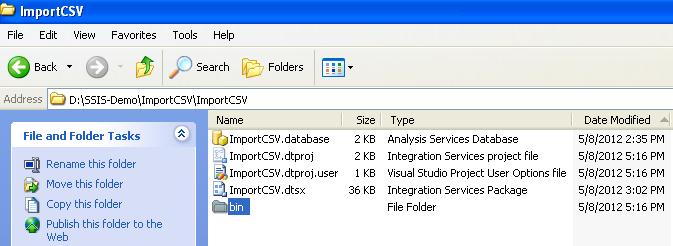
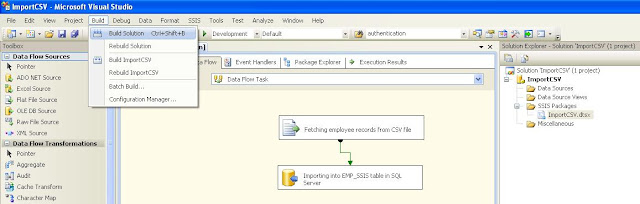 After you built the package, you could see one extra folder is created in the name of “bin” inside the package folder which will contain the deployment utility once we create it.
 By default, the output path would be “bin”, but this folder name can be changed by selecting the project and right click properties as below :
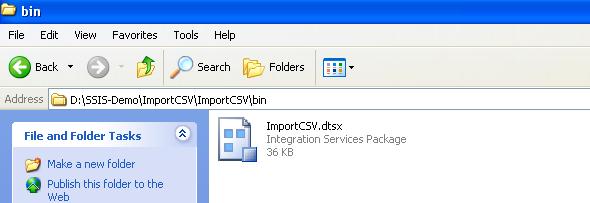
 Just open the bin folder and check, you could see only ImportCSV.dtsx file.
 As I said before, its very easy process to create a deployment manifest file which I am going to show now :
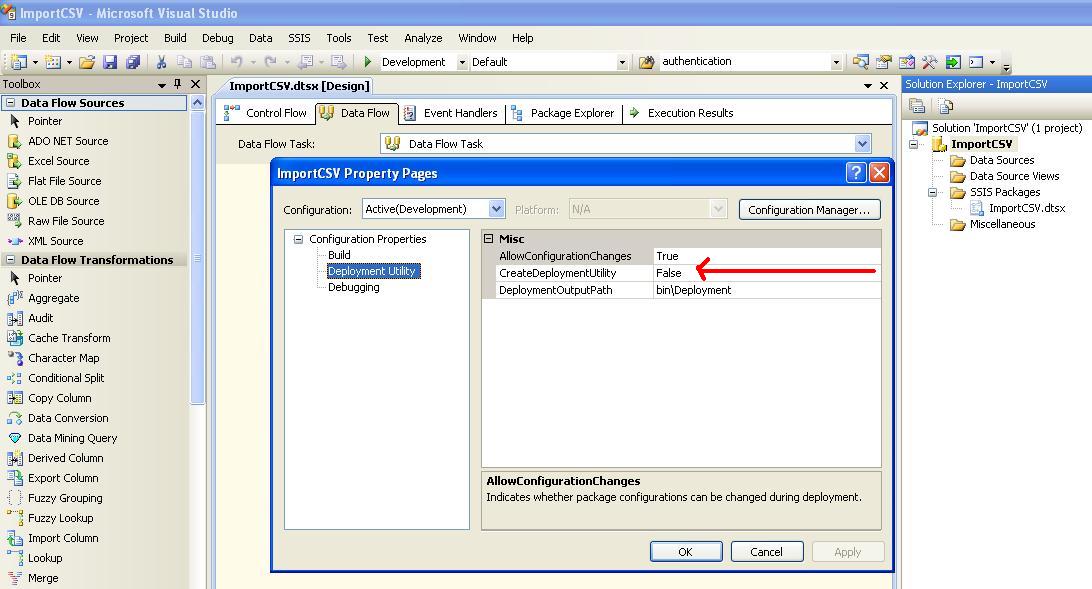
Select your project and right click -> Go to Properties -> Deployment Utility and make CreateDeploymentUtility as "True" which is by default “False”.
The deployment utility path can be changed in DeploymentOutputPath as when required. :)
 Click “OK” button.
Again, Let us go and build / rebuild solution or package.
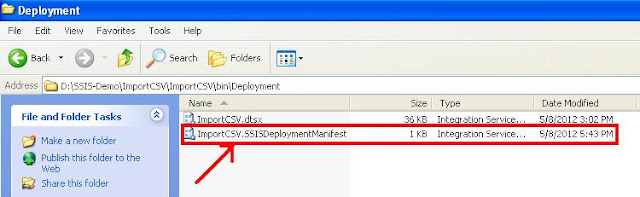
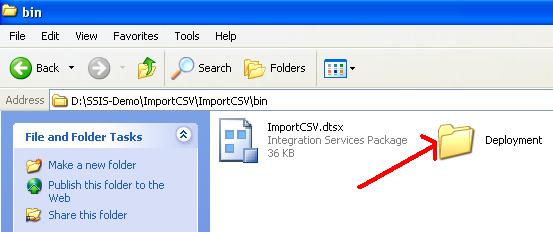
Once you built, just go to “bin” folder and check, you could see a new folder as “Deployment”.
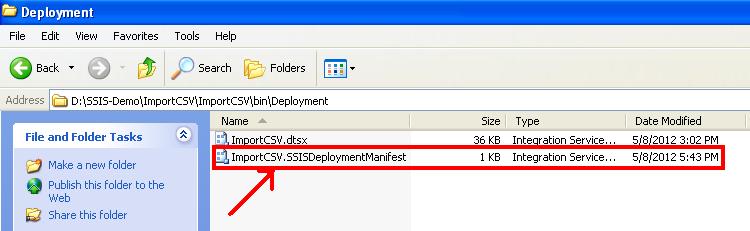
 Open the folder and could see the manifest file has been created in the name of “ImportCSV.SSISDeploymentManifest” which will be used to send for deployment in other machines / servers.
 Let us test, how it works? Double click the manifest file and follow the steps as below :
 Press “Next” button.
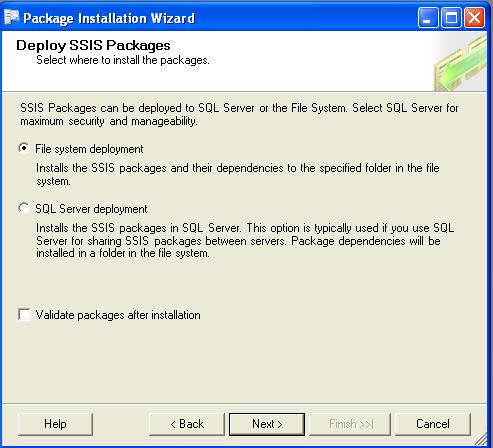
 You can deploy the package either in “File System” or “SQL Server” deployment. For this demo, let us go with default option i.e “File System” deployment. Press "Next" button.
 Change the folder location, if you want, otherwise press “Next” button.
 Press “Next” button.
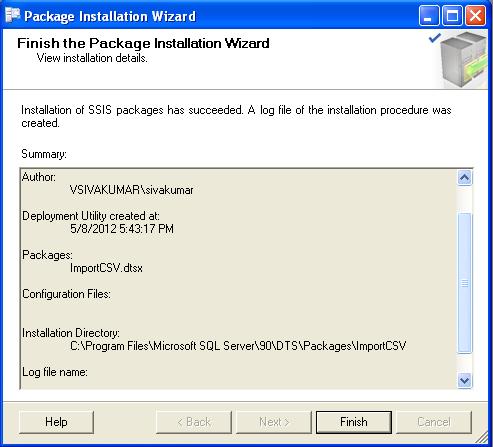
 Here, you can see the installation details and click “Finish” button to complete the deployment.
In this example, I have not included any configuration or miscellaneous files, so you could see only “ImportCSV.dtsx” file in the deployed folder.
Keep reading this page for XML configuration and adding miscellaneous files in the SSIS package.
Hope, you have enjoyed by reading this article and your comments on this article would be highly appreciated.:)
Note :
Before we start discussion, let me tell you what is manifest file in SSIS. :)
Once we complete the development of the package, the next step would be deploying the package in different machine / server. The deployment utility which contains the files you need to deploy like packages, configuration files, Readme file (which might be placed in Miscellaneous folder) etc., These files are included automatically in the deployment utility when we built the package.
Now, Its time to create a manifest file in SSIS. :)
For this example, I have already created one sample package and the package folder will contains the following files before you build a solution or package.


Select your project and right click -> Go to Properties -> Deployment Utility and make CreateDeploymentUtility as "True" which is by default “False”.
The deployment utility path can be changed in DeploymentOutputPath as when required. :)
Again, Let us go and build / rebuild solution or package.
Once you built, just go to “bin” folder and check, you could see a new folder as “Deployment”.


In this example, I have not included any configuration or miscellaneous files, so you could see only “ImportCSV.dtsx” file in the deployed folder.
Keep reading this page for XML configuration and adding miscellaneous files in the SSIS package.
Hope, you have enjoyed by reading this article and your comments on this article would be highly appreciated.:)
Note :
- Please keep in mind that you cannot deploy a single package, if you have multiple packages in the project. In this case all the packages will be deployed.
- For further info, please refer Books Online.
No comments:
Post a Comment